

UP TO 50% OFF + Free Gift at £200+
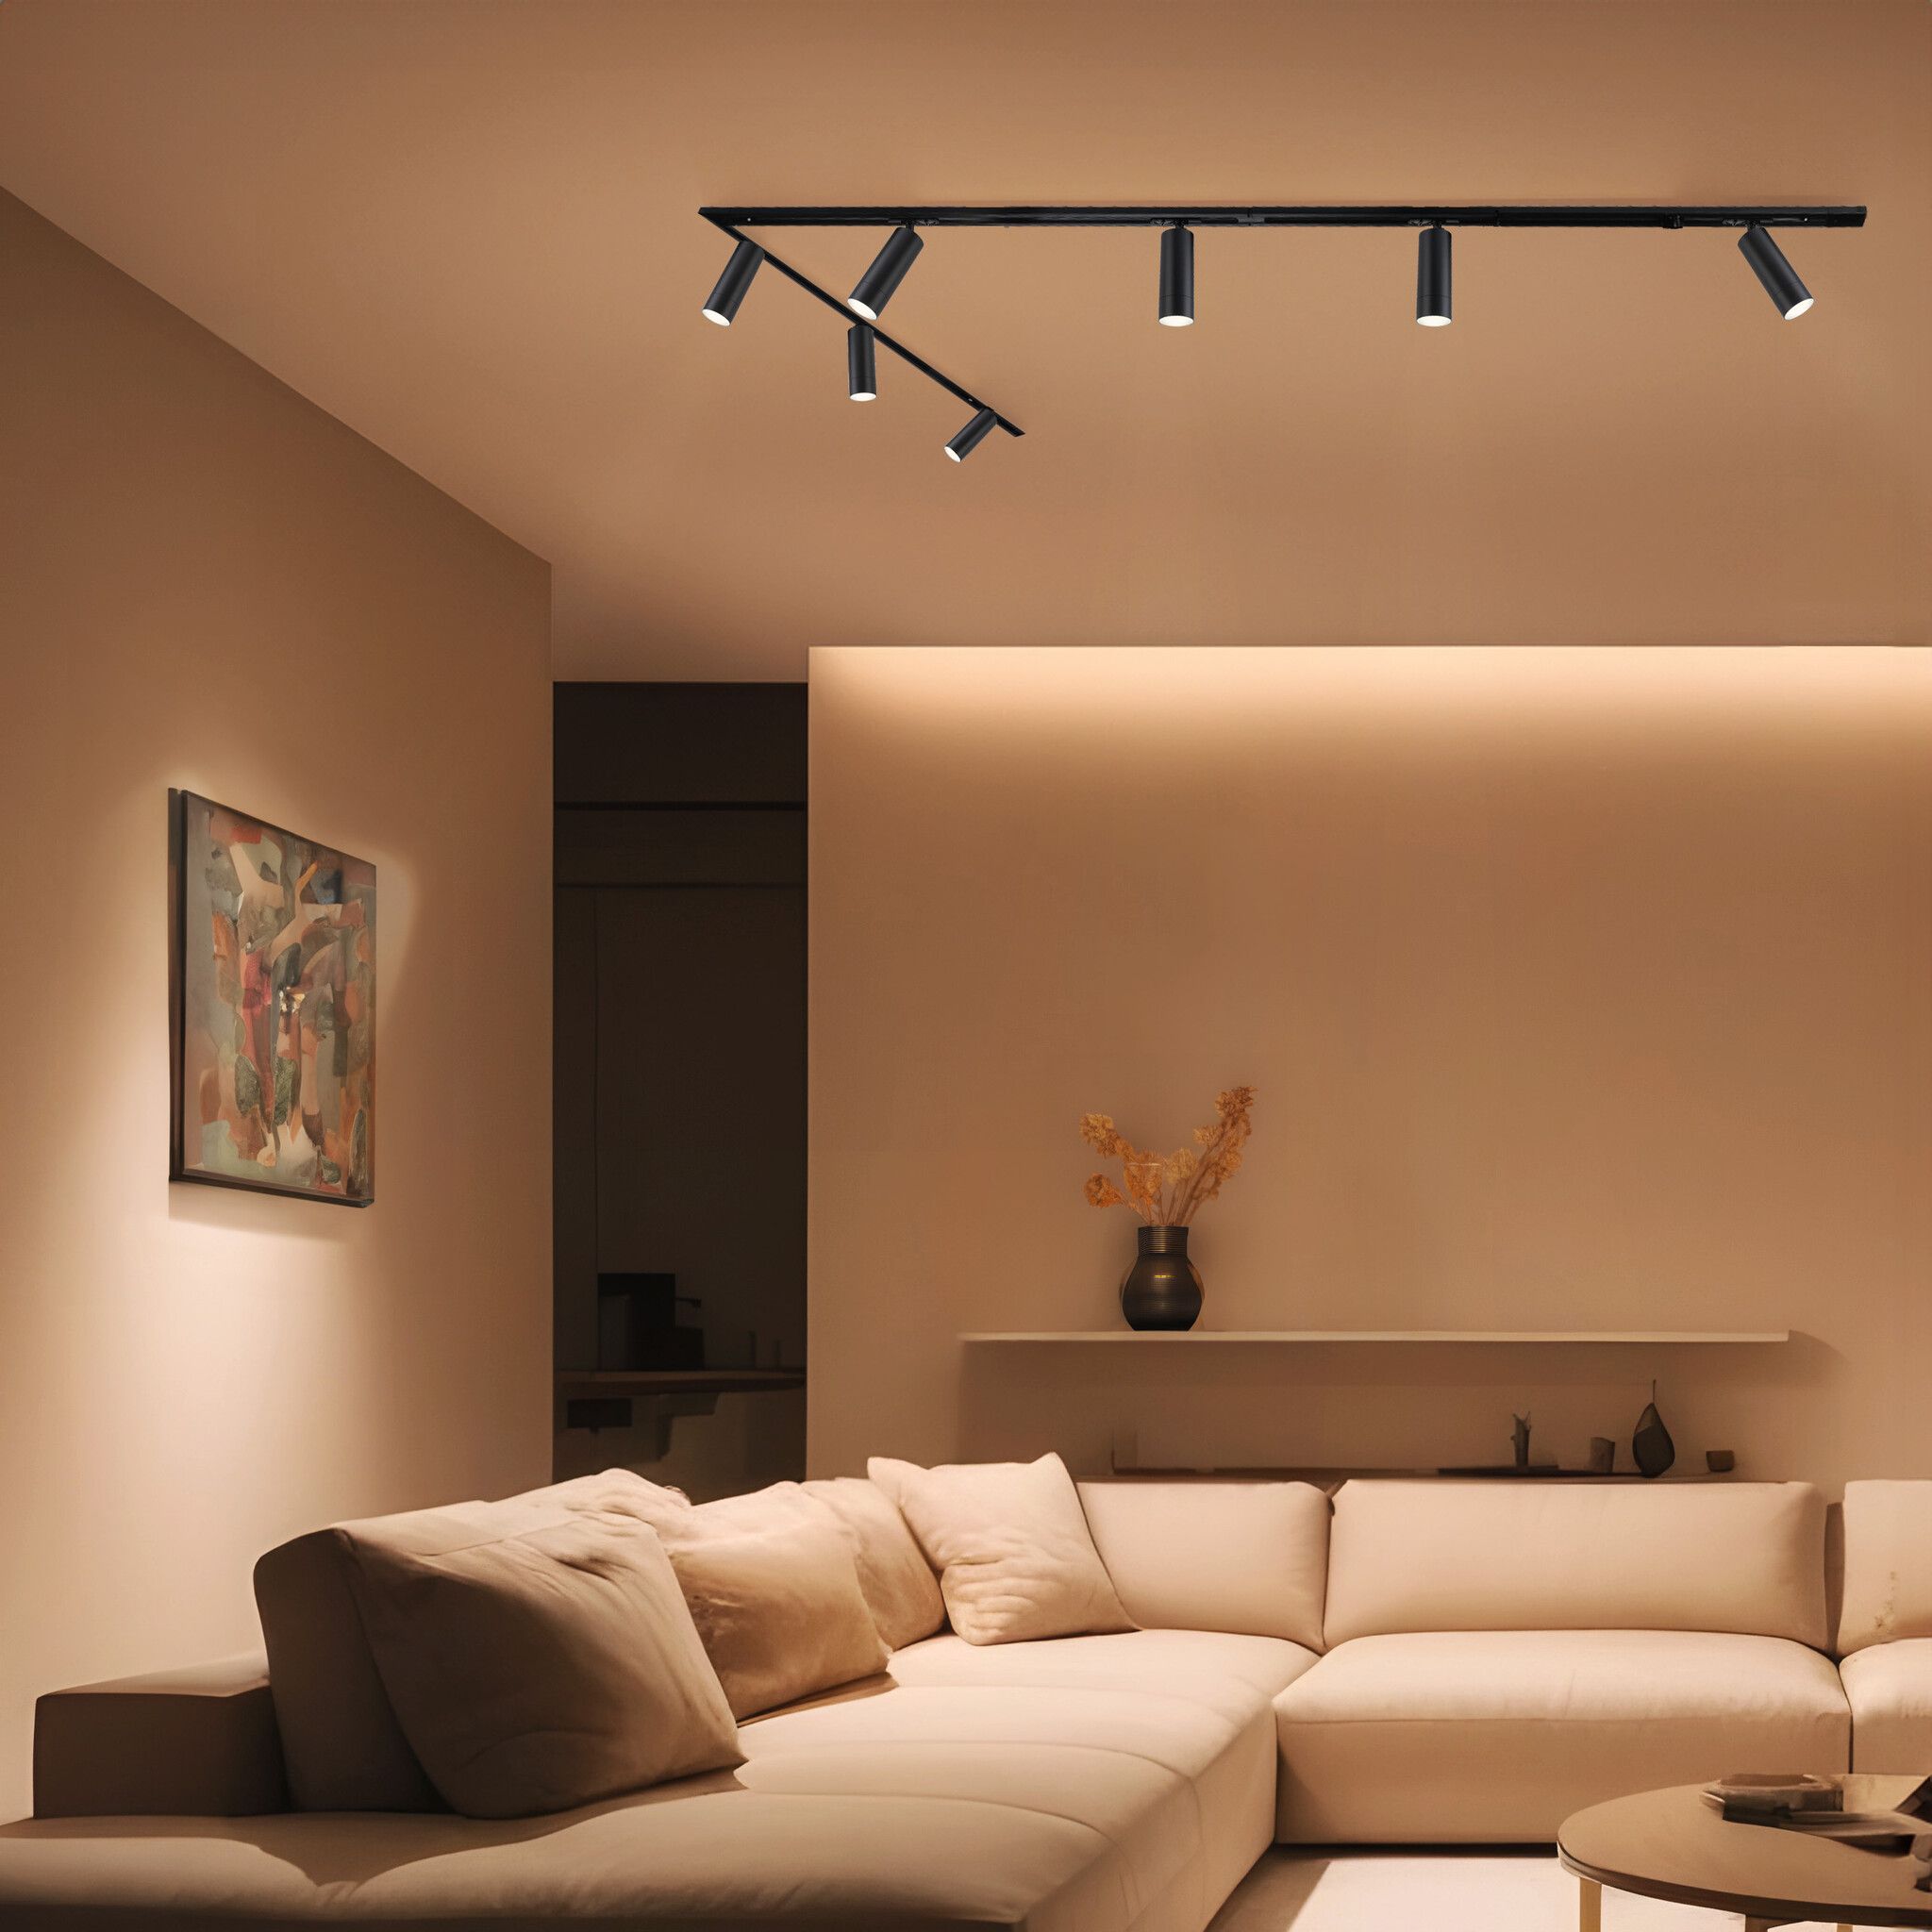
1-phase track lighting is a flexible lighting system consisting of a power track where all LED spotlights on the track are controlled as a single group. The fixtures and their lengths can be flexibly adjusted to meet specific lighting needs. Various lengths and colors of fixtures are available. With different connectors, track lighting can be installed in various shapes.
Where can I use track lighting?
Track lighting can serve as general lighting, task lighting, or accent lighting. Initially, it was commonly used in shops, restaurants, and offices, but it has become increasingly popular in homes due to its modern look. Track lighting is suitable for any room in the house except the bathroom, as the power track is an open system. A minimum IP rating of 44 is recommended for bathrooms, while track lighting typically has an IP20 rating.
From offices to stores and galleries, 1-phase track lighting is favored for its flexibility and adaptability. In offices, it effectively illuminates workspaces, while in retail settings, it highlights products attractively. At home, 1-phase track lighting can accentuate paintings or photos. Nowadays, track lighting is also widely used to illuminate kitchens, hallways, and living rooms.
What is the difference between 1-phase and 3-phase track lighting?
The two most common types of track lighting are 1-phase and 3-phase track lighting.
1-phase track lighting operates as a single group, meaning all track spotlights are controlled by a single switch. This is the simplest and most common type of track lighting for home use. The track is about 1 cm high, and all lights turn on and off together. As a result, a 1-phase system is simpler and often more affordable than a 3-phase system.
3-phase track lighting allows for three separate circuits when connected to a 3-phase power grid (3x230V or 3x400V). This setup enables up to three different switches to control different sections of the lighting system independently. This is particularly useful in retail settings, where certain lights can be turned on as the natural light changes throughout the day. The 3-phase track is approximately 3-4 cm high and can be supplied in longer lengths.
1-phase track lighting is flexible and ideal for various lighting scenarios in offices. It fits well in kitchens, living rooms, or office spaces. The system makes it very easy to add, remove, or move spotlights, making it highly adaptable. For ceilings up to 350 cm, a 1-phase system is recommended as it is slimmer and more refined than a 3-phase system, making it more suitable for standard residential electrical systems.
Various track lighting sets are available on our website. These sets are complete and allow for the installation of track lighting in one or more configurations. If you want to install a custom shape, ensure you have the necessary components to create specific angles.
2-meter sets come with a standard I-connector for installing the track in a straight line. If you want to create a corner with a 2-meter track, you can expand the set with an additional corner connector.
3-meter sets include two I-connectors and one corner connector (for left and right). If you need more than one corner with a 3-meter track, you can order an extra corner connector.
Determine your desired layout. Measure the space where you plan to install the track lighting and calculate the total track length. Choose the track color: black or white. Determine the number of track spots based on the size and type of the room.
It’s also useful to experiment with different light intensities and colors to find the best fit for your needs and preferences. Lumens indicate light intensity, while Kelvin represents color temperature.
Start with a connection piece to power the track. This component acts as the power feed that transmits electricity through the track from the central ceiling outlet. From this power source, you can extend the track and close it with an end cap or connect it to another track.
Our available power connectors include:
End power supply (for start/end of track): LVT10009/LVT10010
Power supply + Connector in one, I-shape: LVT10021/LVT10022
Power supply with cover plate (central I-shape connector with cover plate): LVT10019/LVT10020
Tracks are mounted to the ceiling by drilling holes and securing them with screws. Tracks can be connected using linking pieces. Depending on your desired track system shape, you will need the following connectors:
I-shape: I-connector LVT10011/LVT10012
L-shape: L-connector LVT10013 (left L and right R) / LVT10014 (left L and right R)
X-shape: X-connector LVT10017/LVT10018
T-shape: T-connector LVT10015 (L1, L2, R1, R2) / LVT10016 (L1, L2, R1, R2)
Power Supply + Connector in One, I-Shape: LVT10021/LVT10022
It’s essential to use the correct combinations. There are different L-connectors for left and right depending on whether the grounding runs on the outer (R) or inner (L) side of the connector.
What is the R1, R2, L1, and L2 circuit, and what do you need?
For the T-shape, there are four options: L1, L2, R1, and R2. When using T-connectors, you must pay attention to the grounding wire running through the track system to ensure proper alignment. It is essential that the circuit connections match when branching a 1-phase track system. This is indicated by the red line in the image.
Our 1-phase track spot range for kitchens includes GU10 socket spotlights, which allow you to insert separate GU10 bulbs, such as standard dimmable or smart bulbs.
We offer three options in our standard sets:
Without bulbs: This option allows you to choose the color temperature and brightness by selecting your own GU10 bulbs. These bulbs can be replaced easily, providing flexibility for different lighting needs.
Standard bulbs: The 2700K (extra warm white) option is popular for homes due to its cozy light color. Dimmable track spots can be connected to an external dimmer, allowing for warmer light when dimmed—ideal for kitchens.
Smart track lighting: With GU10 smart bulbs from Ledvion, you can create a smart track lighting system. These can be switched and dimmed individually via an app. You can also set schedules for automatic lighting control.
For a neat finish, you can use a square cover plate (LVT10019/LVT10020) to prevent looking into the track. A ceiling cover plate is needed if the central ceiling outlet is visible, as the power supply is not wide enough to cover the hole completely.
Ceiling caps (LVT10005/LVT10006) provide a clean finish and are ideal for suspending track lights. They come with a 1.5-meter cable that can be shortened as needed.
The power supply with cover plate (LVT10021/LVT10022) acts as a connection piece between two tracks in an I-shape, neatly covered with a center plate.
Once your order arrives (which we ship as quickly as possible), you can start installation. Each order includes a manual.
Lay out the track design on the floor to determine where the connectors will go.
Identify where the power supply is located and decide on the track’s connection points.
Connect the electrical wires to the track lighting system via a power feed.
Ensure the track spotlights are correctly clicked into the track to avoid connector damage.
After mounting the track and connecting the power, place the track spotlights into the track.
When installing a track system, proper grounding is essential. Follow the red line in the manual, which indicates how grounding wires should run through various connectors and tracks. With T- and L-connectors, ensure that the grounding lines match seamlessly.
For T-connectors, there are four variants (L1, L2, R1, R2) to ensure the correct connection. Following the red grounding line guarantees safe and functional electrical connections.
Here are some design examples:
I-shape design:
T-shape connection:
Square connection:
Parallel & L-shape connections: