

UP TO 50% OFF + Free Gift at £200+
Do you want to install solar panels on your balcony without hiring an installer or making structural changes to your home? With our plug-and-play balcony solar panels, you can start generating your own electricity in less than an hour.
In this guide, you will learn exactly how balcony solar panel installation works, what you should pay attention to, and what kind of energy production you can expect.
The installation process is designed for speed, simplicity and safety. No technical knowledge or previous installation experience is required.
Attach the balcony solar panels securely to the balcony railing or another stable structure.
How to mount them:
• Use the integrated mounting eyelets on the panels.
• Secure the panels using the included stainless steel cable ties.
• Check that the panels are firmly attached and cannot move in strong wind.
Placement tips for balcony solar panels:
• Orientation: ideally south-facing (south-east or south-west also work well).
• Avoid shade from buildings, trees or upper balconies.
• Ensure light ventilation behind the panel to prevent overheating.
Correct placement helps maximise the efficiency of your balcony solar system.
The solar panels for balcony use are connected to the micro-inverter using MC4 connectors. The inverter converts the generated direct current (DC) into usable alternating current (AC) for your home.
Included in the box:
• 2 × 110 W solar panels
• 1 × micro-inverter
• 1 × AC cable
• 1 × MC4 extension cable
• 16 × stainless steel cable ties
Connection steps:
• Click the MC4 connectors from both panels into the inverter.
• Connect the AC cable to the inverter.
• Check that all connections are secure and properly attached.
The micro-inverter is IP67 waterproof, making it suitable for outdoor use on balconies, terraces or façades.
Plug the system into a grounded electrical socket.
As soon as you do this:
• The inverter synchronises with the electricity grid.
• The generated electricity is fed directly into your home.
• Your household appliances will use your own solar power first.
This is how simple balcony solar panel installation has become today.
Modern plug-in balcony solar panels include multiple safety features:
• Grid protection
• Automatic shutdown during power outages
• Surge protection
• IP67 waterproof micro-inverter
For safe installation always use:
• A grounded electrical socket
• Properly secured cables
• A dedicated electrical circuit if possible
These safety features ensure that balcony solar panels with a plug connection can be used safely in residential environments.
These balcony solar panels are not limited to balcony installations. Thanks to their compact and flexible design, they can also be installed in several other locations:
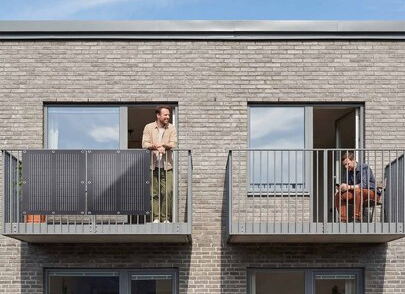
• On a balcony railing
• Against a garden fence
• On a flat roof
• Mounted on a building façade
• In the garden
Because of the lightweight and flexible design, installing these plug-and-play solar panels is quick and straightforward in many different locations.